Add Audio
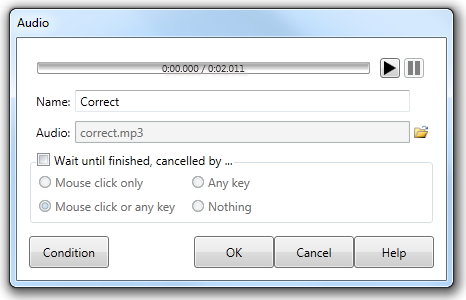
The Add Audio Action allows you to add a sound file (such as music or voice over) to your Action list. Selecting the Add Audio button on the toolbar will display the Select File dialog. Select the audio file (.mp3) you want to use - the file will immediately be copied into your lesson directory. The Audio dialog will appear - allowing you to edit the properties of the Audio action. The total length of the selected audio files (in seconds) is displayed at the top of the dialog.
|
|||
Name |
This is the name of the Audio action (that will be displayed in the Action list of the Element dialog). The default Name is the name of the file in the Audio field. |
||
Previewing the audio file |
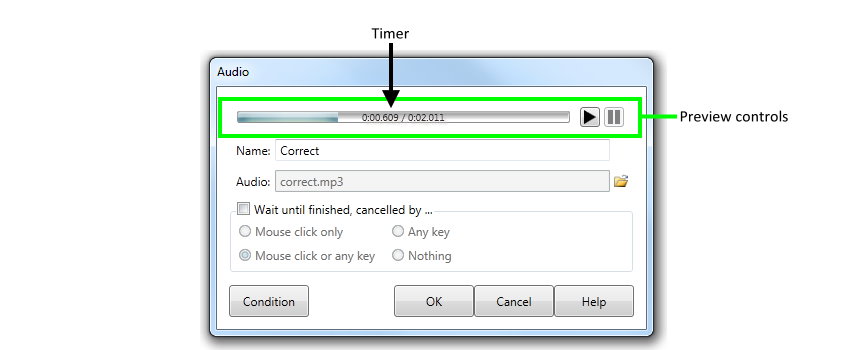
AUTHOR™ allows you to preview the audio file - allowing you to check the content while you are developing the element.
The preview controls are a Tracker bar and a Play and Pause button. While an audio file is being previewed a timer will be displayed (to the right of the Name field). You can use the mouse pointer to pause the tracker or move backwards or forwards through the audio file. (This is particularly useful for determining timing for synchronisation of voice over with text/image displays). |
||
Audio |
The Audio field displays the name of the selected audio file - this field can only be changed by selecting a different file using the File button to the right of the Audio field. |
||
Wait until finished |
If you check the Wait until finished check box, the Lesson, when run, will pause at the Audio action until the sound has completed and then execute any subsequent Actions in the Action list. |
||
Dialog controls |
See The Action Toolbar for information about the dialog controls displayed at the bottom of the dialog box. |
||

